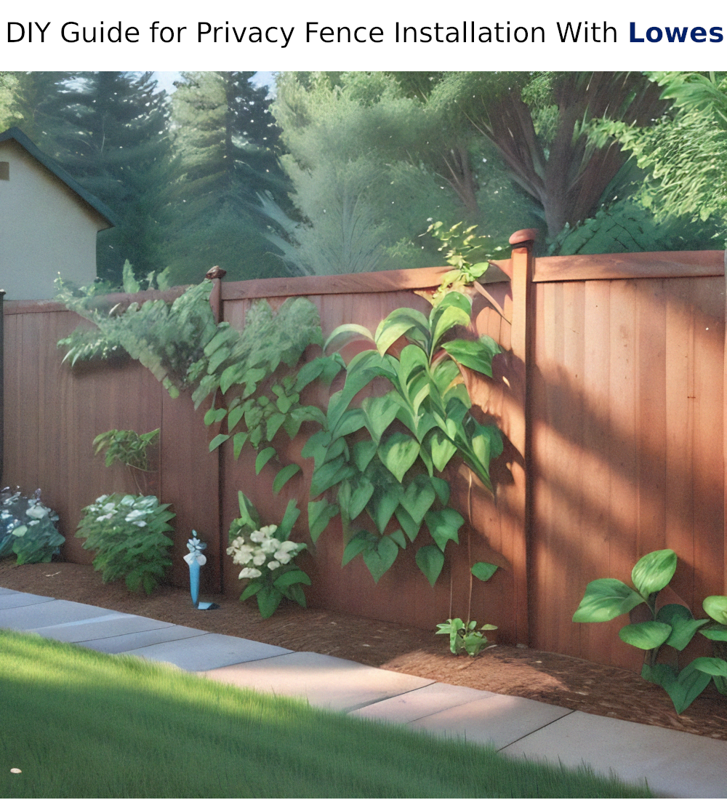
Are you looking to add some privacy to your backyard or keep your pets and children safe? A privacy fence is the perfect solution. And with the help of Lowes, you can easily install one yourself. In this step-by-step guide, we'll walk you through the process of installing a privacy fence with Lowes.
Why Choose Lowes for Your Privacy Fence Installation?
Lowes is a trusted home improvement retailer that offers a wide range of fencing options, including privacy fences. They also provide all the necessary materials and tools for a successful fence installation. Plus, their knowledgeable staff can offer expert advice and guidance throughout the process.
Materials You'll Need
Before you begin your privacy fence installation, make sure you have all the necessary materials. Here's a list of what you'll need:
- Fence panels
- Fence posts
- Post hole digger
- Concrete mix
- Gravel
- Level
- Measuring tape
- String
- Nails or screws
- Hammer or drill
- Saw
- Safety gear (gloves, goggles, etc.)
Step 1: Plan and Measure
The first step in any successful fence installation is proper planning and measuring. Start by determining the location and length of your fence. Then, mark the corners and measure the distance between them. Use string and stakes to create a straight line for your fence.
Next, measure the length of your fence panels and determine how many you'll need. Keep in mind that you'll need to leave space for a gate if you plan on having one. Once you have all your measurements, head to Lowes to purchase your materials.
Step 2: Dig the Holes
Using a post hole digger, dig holes for your fence posts. The depth of the holes will depend on the height of your fence. As a general rule, the holes should be at least one-third the height of your fence. For example, if your fence is 6 feet tall, your holes should be at least 2 feet deep.
Step 3: Set the Posts
Once your holes are dug, it's time to set the posts. Start by placing a few inches of gravel in the bottom of each hole for drainage. Then, insert the posts and use a level to ensure they are straight. Once the posts are in place, fill the holes with concrete mix and let it dry according to the manufacturer's instructions.
Step 4: Install the Fence Panels
With the posts set, it's time to install the fence panels. Start by attaching the first panel to the first two posts using nails or screws. Use a level to ensure the panel is straight and adjust the posts if necessary. Continue attaching panels until you reach the end of your fence line.
Step 5: Add a Gate
If you plan on having a gate, now is the time to install it. Measure and cut a panel to fit the opening for your gate. Then, attach hinges to the gate and the post. Finally, add a latch to keep the gate closed.
Step 6: Finishing Touches
With your fence installed, it's time to add some finishing touches. Use a saw to trim any excess panel length and add caps to the top of the posts for a polished look. You can also add a privacy screen to your fence for extra privacy and style.
Tips for a Successful Privacy Fence Installation
- Always call your local utility company before digging to avoid hitting any underground lines.
- Use a level to ensure your fence is straight and adjust the posts as needed.
- Consider using a post hole digger with a built-in level for easier installation.
- Use a string and stakes to create a straight line for your fence.
- Wear safety gear, such as gloves and goggles, to protect yourself during the installation process.
Conclusion
Installing a privacy fence with Lowes is a simple and cost-effective way to add privacy and security to your backyard. With the right materials and tools, you can easily complete this project in a weekend. Just remember to plan and measure carefully, set the posts correctly, and add some finishing touches for a professional-looking fence. Happy fencing!


